DIY Medical Equipment: How to Prototype and Test Locally
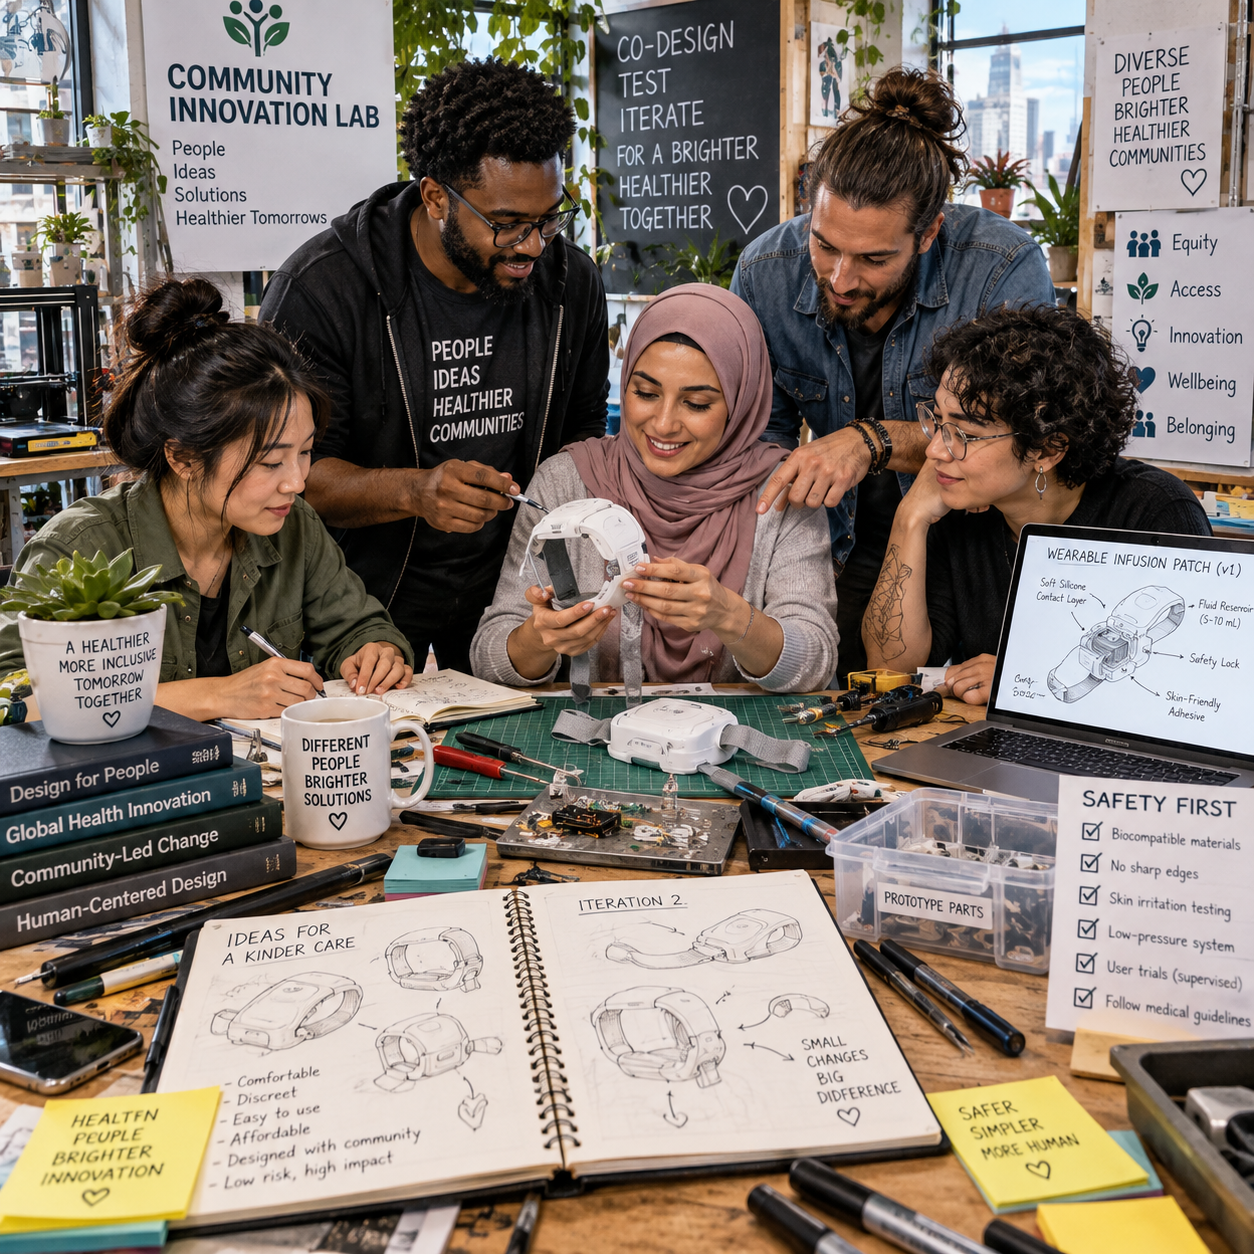
DIY medical equipment projects can help communities explore practical responses to unmet health needs. A social innovation lab may bring together patients, caregivers, clinicians, engineers, makers, and local organizations to investigate an idea before it enters a formal development pathway.
The boundary is essential: a prototype made for learning is not an approved medical device. Anything intended for diagnosis, treatment, monitoring, or life support requires appropriate professional review, risk controls, and compliance with applicable medical-device regulation. The safest local process moves in stages: define the need, co-design, prototype, test without clinical risk, document evidence, and decide whether to refine, transfer, or stop.
Start With a Clearly Defined Community Health Need
A community health need should be defined through direct local listening before anyone chooses a technology. Interviews and observation reveal who is affected, what currently fails, and which constraints matter in daily life.
Begin with conversations involving patients, caregivers, healthcare workers, disability advocates, community health organizations, and repair technicians. Ask questions such as:
- What task is difficult, expensive, unavailable, or unsafe?
- Who experiences the problem most often, and who is excluded by current solutions?
- What are the consequences of failure?
- What materials, power sources, cleaning methods, skills, and maintenance options exist locally?
Write the need as a specific problem statement. For example: “Caregivers in the community need a low-cost way to organize and identify non-electronic medication supplies during home visits.” This is more useful than “build a medical device,” because it identifies the user, context, and outcome without prematurely selecting a solution.
A useful filter is the Need–Risk–Capacity check: Is the need real and underserved? What could happen if the proposed device fails? Does the local team have the expertise and oversight to explore it responsibly? High-risk needs should move quickly toward clinical, engineering, and regulatory partnerships rather than informal experimentation.
Build a Human-Centered Prototype
Human-centered design turns a community need into a series of simple, testable prototypes. Start with requirements, sketches, and low-cost models before investing in complex electronics, software, or specialized materials.
Translate conversations into measurable design requirements. These might include one-handed operation, readable labels, compatibility with a wheelchair, easy cleaning, low weight, no sharp edges, operation without reliable internet, or repair using locally available parts. Accessibility should cover vision, hearing, mobility, dexterity, language, literacy, and cognitive load.
Early rapid prototyping can use cardboard, paper, foam, fabric, recycled plastic, clay, or nonfunctional 3D prints. These models are valuable because users can react to size, shape, placement, and workflow before the team creates a device that appears finished. A rough mock-up can expose a usability problem in an afternoon; correcting the same problem after fabrication may consume weeks.
Use short design cycles:
- Sketch two or three possible approaches.
- Build the simplest model that answers one question.
- Ask intended users to explain what they think it does.
- Record confusion, discomfort, and unexpected workarounds.
- Revise the design and label the new version clearly.
Design for the real setting, including dust, humidity, heat, limited storage, intermittent power, cleaning routines, and transport. Choosing a cheaper material may improve affordability while reducing durability or hygiene. That trade-off must be tested rather than assumed.
Use Local Resources and Collaborative Expertise
Local resources make prototyping more practical when each partner has a clear role. Makerspaces, fabrication labs, universities, repair workshops, clinics, and nonprofit organizations can contribute equipment, technical knowledge, user access, or safe workspace.
A social innovation lab can act as the coordinating environment. It may provide a project brief, meeting space, consent materials, version control, and a shared risk register. A makerspace might offer laser cutters, sewing machines, hand tools, or 3D printers. A university can support biomechanics, human factors, industrial design, or materials assessment. A clinic can explain workflow and infection-control concerns, but clinic participation does not automatically make a prototype clinically approved.
Invite a technician or repair professional early. They often identify practical weaknesses that a design team misses: fasteners that cannot be replaced locally, batteries with no reliable supply chain, surfaces that trap dirt, or parts that require tools unavailable to caregivers.
Before fabrication, agree on:
- Who owns design files, test data, and photographs.
- Who may operate tools and who supervises them.
- How hazards, incidents, and near misses will be reported.
- What materials and processes are prohibited at the early stage.
- How community contributors will be credited and compensated.
Create a Safe, Structured Testing Plan
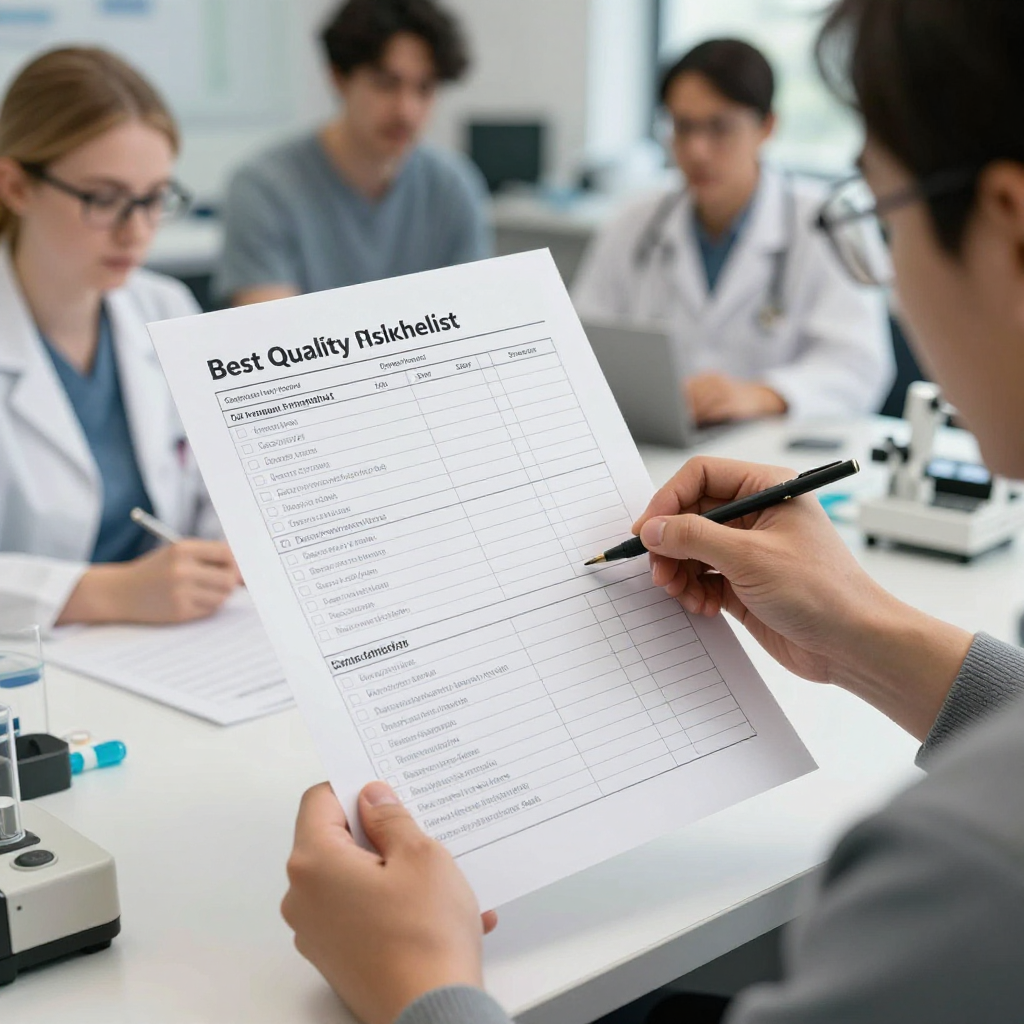
Safe testing begins with non-human evaluation and advances only when evidence supports the next step. Test function, usability, and failure modes separately, with written stop conditions before any supervised real-world context.
A practical sequence is:
- Bench testing: Check dimensions, moving parts, stability, heat, electrical insulation, battery behavior, and material damage using non-human models.
- Simulated-use testing: Recreate the intended environment with task scripts, dummy loads, mannequins, or inert materials.
- Usability testing: Ask representative users to perform low-risk tasks while observers record errors, hesitation, workarounds, and questions.
- Risk review: Reassess hazards after every design change and decide whether the prototype remains suitable for learning.
Use a simple risk register with columns for hazard, cause, possible harm, likelihood, severity, existing control, test evidence, and owner. Consider pinch points, sharp edges, contamination, incorrect readings, overheating, loss of power, confusing alarms, privacy exposure, and misuse outside the intended context.
Stop testing when a component breaks, a user could be harmed, results conflict, an unanticipated hazard appears, or the team lacks the expertise to interpret findings. Do not solve a serious safety concern by adding a warning label alone. Remove the hazard, isolate it, redesign the component, or end the experiment.
Involve Users Responsibly
Responsible user testing includes informed consent, privacy protection, accessibility, and a clear distinction between feedback and clinical validation. Patients, caregivers, and clinicians should know exactly what they are being asked to do and what the prototype cannot safely do.
Explain the project in plain language before participation. State that the item is experimental, identify foreseeable risks, describe alternatives, and make clear that declining will not affect access to care or community services. Obtain consent through a process appropriate to the participant’s language, literacy, decision-making needs, and communication method.
Keep early sessions focused on low-risk questions such as whether a control is understandable, whether a handle is comfortable, or whether a cleaning instruction is clear. Avoid asking participants to rely on an unapproved device for diagnosis or treatment. If a clinical scenario is necessary for legitimate research, use institutional oversight and qualified professionals rather than informal community approval.
Protect names, photographs, medical histories, and recordings. Collect only the information needed for the design question, store it securely, and agree on who can access it. Cultural context also matters. A device that appears intuitive to a designer may conflict with local practices, stigma concerns, household roles, or trust in health services.
Document, Improve, and Decide What Happens Next
Good documentation turns a promising prototype into a traceable learning process. Record every version, material change, test condition, observed failure, user comment, and decision to continue or stop.
A lightweight project file should include:
- The original community need and intended users.
- Design requirements and assumptions.
- Drawings, photographs, measurements, and version numbers.
- Materials, suppliers, software, and fabrication methods.
- Test scripts, participant roles, dates, and environmental conditions.
- Defects, near misses, corrective actions, and unresolved risks.
- Consent records and data-handling decisions.
- A final recommendation: revise, partner, transfer, pause, or discontinue.
Do not treat positive feedback as proof of safety. One participant’s success may show that a task is possible under one set of conditions; it does not establish effectiveness across populations or clinical settings. Review findings with people who understand the relevant clinical, engineering, human-factors, and regulatory risks.
At each project gate, ask three questions: Did the design solve the stated need? Are remaining risks understood and controlled? Does the team have the authority and competence to proceed? If any answer is no, revision or discontinuation is a responsible outcome.
Safety, Ethics, and Regulatory Boundaries
DIY medical equipment must remain within a clearly defined safety and regulatory boundary. Prototypes for education, ergonomics, organization, or nonclinical workflow exploration may be suitable for early local work, while diagnostic, therapeutic, implantable, monitoring, and life-support equipment require rigorous professional oversight.
Medical-device regulation differs by jurisdiction, intended use, risk class, and route to market. In the United States, the U.S. Food and Drug Administration medical-device guidance explains how devices are regulated; other countries have their own authorities and conformity requirements. Reading official guidance early can prevent a community team from making claims that trigger obligations it cannot meet.
Seek qualified review before a prototype is used with real patients, connected to clinical decisions, or represented as safe or effective. Depending on the project, appropriate reviewers may include a clinician, biomedical engineer, infection-prevention specialist, accessibility expert, institutional review board or ethics committee, and regulatory professional.
Common mistakes include:
- Starting with a gadget: The team builds an impressive object without confirming the community need. Return to interviews and define the task first.
- Testing on people too soon: Informal enthusiasm is mistaken for permission. Begin with inert models and simulated conditions.
- Ignoring maintenance: A prototype works in the lab but cannot be cleaned, repaired, powered, or supplied locally. Include lifetime cost and repairability in requirements.
- Using clinical language prematurely: Words such as “diagnoses,” “treats,” or “clinically proven” can mislead users and create regulatory concerns. Describe the prototype’s actual purpose and evidence.
The strongest local projects know when to remain experiments and when to enter a regulated development pathway. That decision protects participants, preserves community trust, and gives genuinely useful ideas a credible route toward professional evaluation.
Frequently Asked Questions
What types of medical equipment are suitable for early DIY prototyping?
Low-risk ideas involving organization, positioning, accessibility, nonclinical workflow, or educational models are generally more suitable for early exploration. Avoid prototypes that diagnose, deliver treatment, enter the body, control medication, support breathing, or produce results that could guide urgent care.
How can a local lab test a prototype without putting people at risk?
Use bench tests, inert materials, mannequins, simulated environments, task walkthroughs, and supervised usability sessions focused on nonclinical interactions. Define hazards and stop conditions before testing begins.
Who should review a community medical-device project?
Review may involve intended users, caregivers, clinicians, biomedical or mechanical engineers, human-factors specialists, technicians, infection-control professionals, ethics reviewers, and regulatory advisers. The required mix depends on the device’s intended use and risk.
What documentation should be kept during prototyping and testing?
Keep the need statement, requirements, drawings, version history, material records, test plans, observations, defects, risk assessments, consent records, privacy decisions, and final continuation or discontinuation rationale.
When should a DIY medical prototype enter a regulated development pathway?
Seek professional and regulatory guidance when the prototype is intended for patient use, diagnosis, treatment, monitoring, clinical decision-making, or commercial distribution. Moving early is usually safer than discovering late that the design, evidence, or claims cannot meet applicable requirements.